MIA'S BABY-SHOWER! <3
To celebrate Mia's Baby-shower, I created a colorful cake. Below you will find step by step, how I made this cake. Enjoy the journey!
1) Find your inspiration. In this case, the gift bag inspired me. I loved the combination of colors, perfect for Mia's baby-shower.

Dots, strips, lines, flowers were incorporated in the cake design.

2) First Tier: An 11" (2 layer) Vanilla Cake. Covered with lemon buttercream icing and raspberry buttercream filling in between layers. Yummy!

I used the leveler to make two equal layers. A ring made of buttercream to separate the filling from the lemon buttercream icing.


With tip 789, I iced the cake and later smoothed it with the spatula.


3) Second Tier: An 7" (2 layer) Chocolate Cake with chocolate filling in between layers covered with chocolate buttercream icing. For chocolate lovers!


4) You should calculate the amount of fondant you will need to cover the cake. I colored the fondant lime green for the first tier.

I smoothed the side of the cake with the fondant smother.

If you got a bit of buttercream on your fondant when you cut the fondant around the cake, you should trow it away, that way you won't contaminate the fondant. A little waist of fondant is ideal.


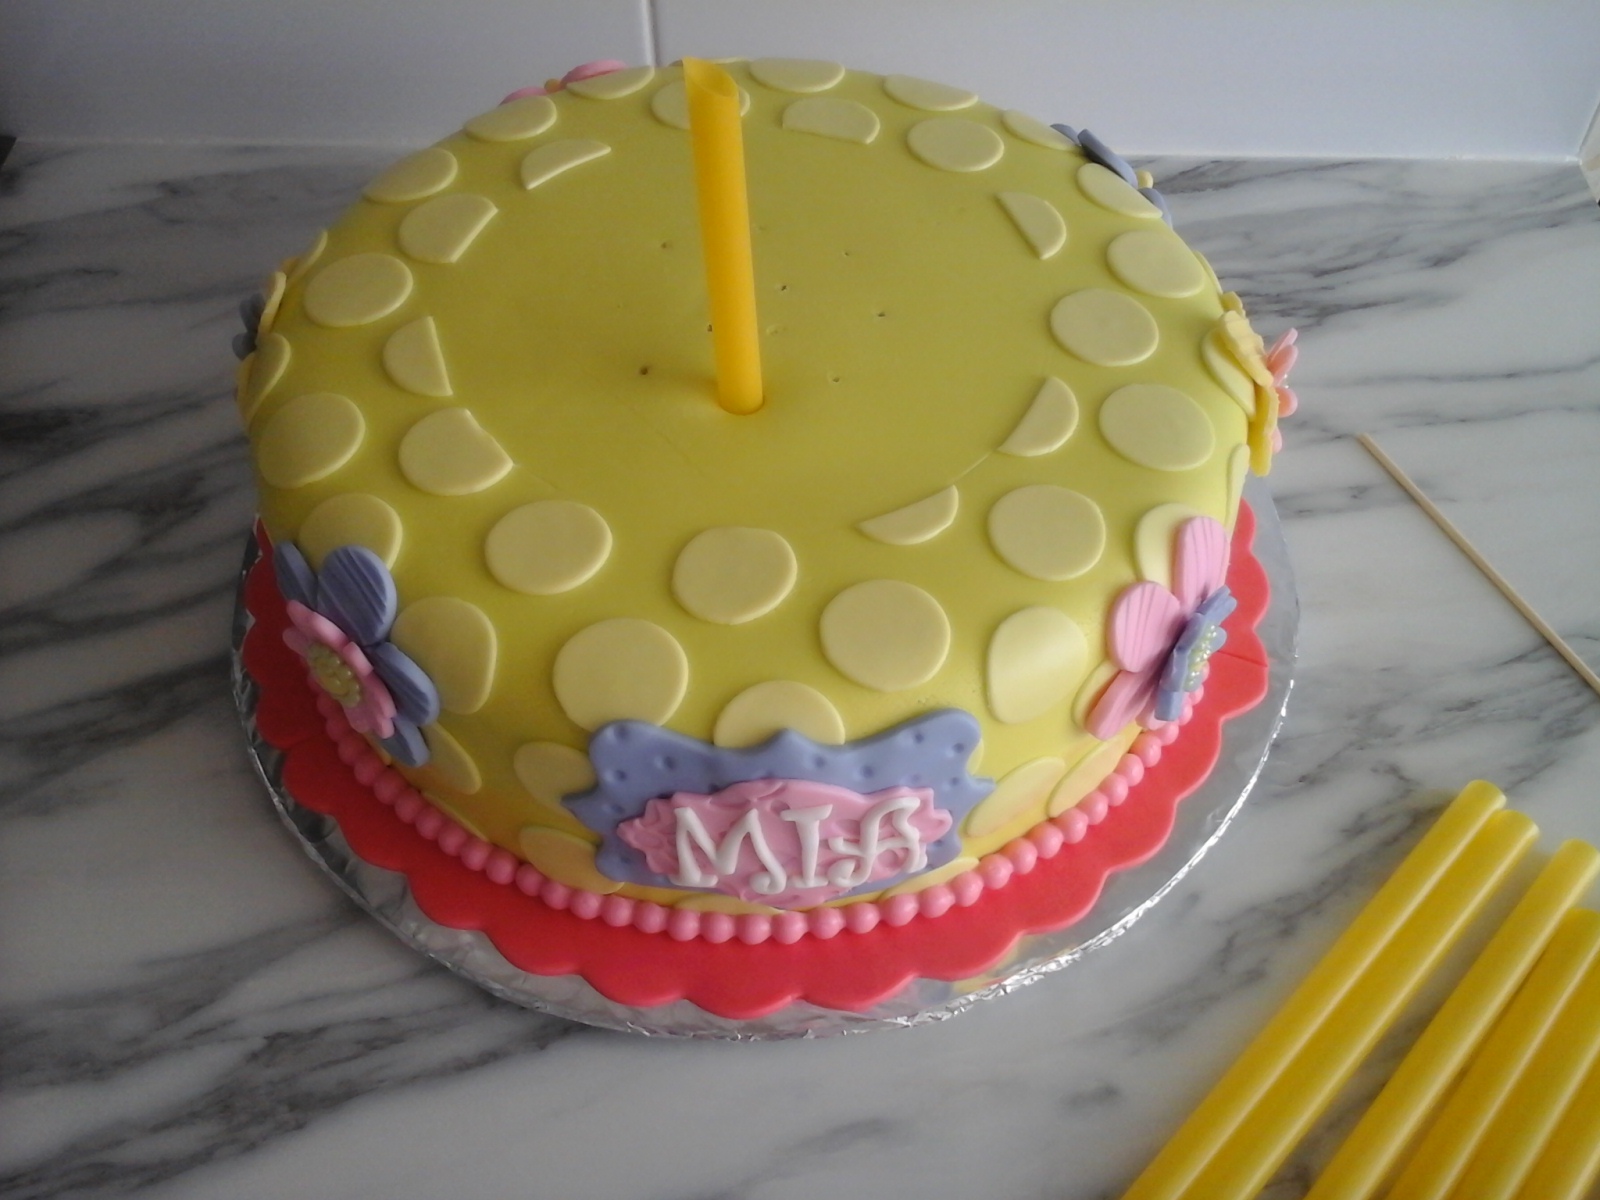
5) Be creative and use the tools you have to have fun decorating the cake. In this case I used the scallop tool, round cutters, ribbon cutter, flower cutters, silicone mold, modeling tools, sugar pearls etc....


6) Embellish your cake but always remember, less is more!


7) When stacking cakes, you should use appropriate dowels to guaranty structural integrity.


I can't wait to meet you Mia!